Proven Method to Apply Automotive Body Filler 101 for Long-Lasting Results

Table of Contents
How to Apply Automotive Body Filler: A Step-by-Step Guide for a Smooth Finish
If you’re working on restoring or repairing a car, knowing how to apply automotive body filler properly is essential. Commonly referred to as Bondo (a popular brand), body filler helps in repairing dents, dings, and other imperfections on your car’s body. Here’s a complete guide on how to apply automotive body filler the right way, ensuring a smooth, paint-ready surface.
What is Automotive Body Filler?
Automotive body filler is a polyester resin product used to fill small dents, scratches, and other surface irregularities on metal or fiberglass car panels. It’s a go-to solution in auto body repair jobs and offers an affordable way to restore the appearance of damaged bodywork.
Tools & Materials Needed
- Automotive body filler (e.g., Bondo)
- Hardener (comes with filler)
- Mixing board and applicator/spreader
- Sandpaper (80-grit to 320-grit)
- Sanding block or dual-action (DA) sander
- Clean cloth or tack rag
- Surface cleaner or wax remover
- Primer (after sanding)
Step-by-Step: How to Apply Automotive Body Filler

1. Clean and Prep the Surface
Begin by thoroughly washing the area with soap and water. Then, use a wax and grease remover to eliminate oils and contaminants. Sand the damaged area with 80-grit sandpaper to roughen the surface. This helps the body filler bond better to the metal.
2. Mix the Filler and Hardener
Scoop the desired amount of filler onto a mixing board. Add the hardener in the recommended ratio (usually a golf ball-sized amount of filler with a 2-3-inch ribbon of hardener). Mix thoroughly for about 45-60 seconds until the color is consistent. Work quickly, as the filler starts curing within 5-7 minutes.
3. Apply the Filler
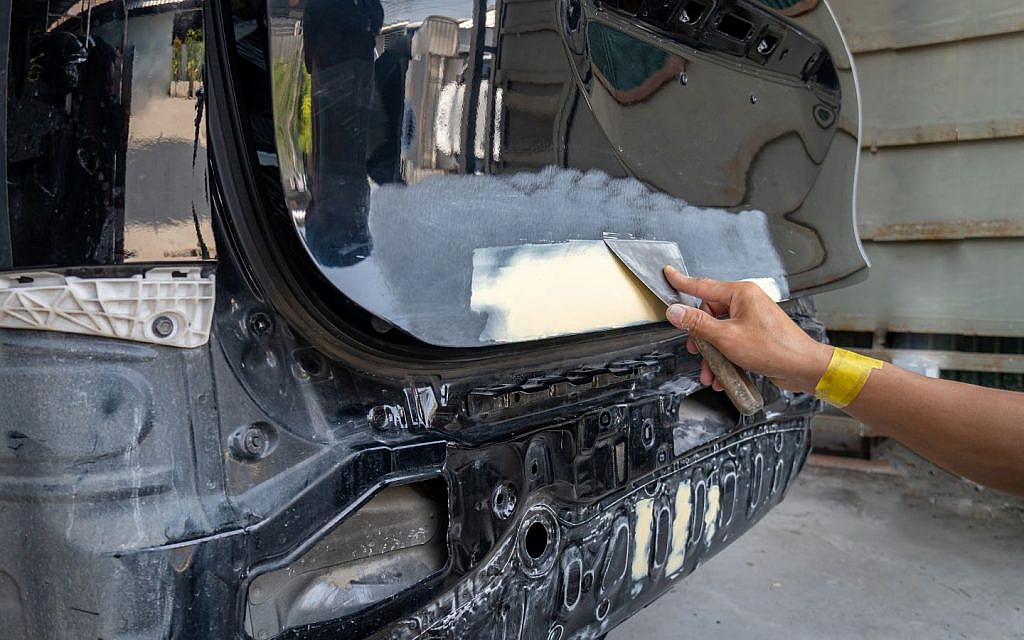
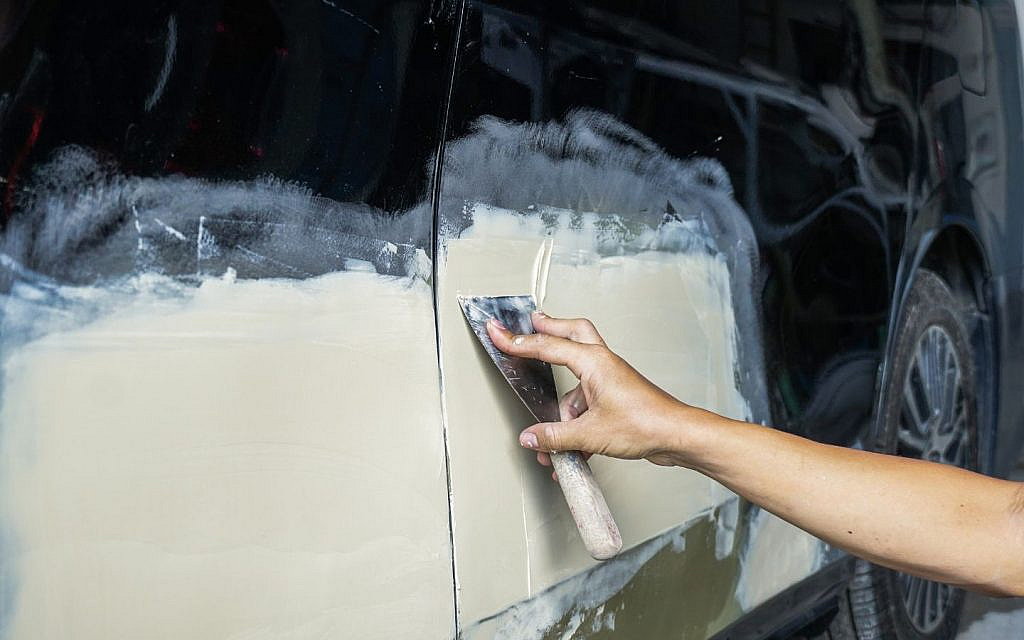
Using a plastic spreader, apply the mixed filler to the dent or scratch with firm, smooth strokes. Apply in thin layers and slightly overfill the area to allow for sanding. Avoid air bubbles as they weaken the repair.

4. Let it Cure
Allow the filler to dry for 20–30 minutes. Drying time depends on temperature and the filler brand. Do not rush this step; premature sanding can ruin the finish.
5. Shape and Sand
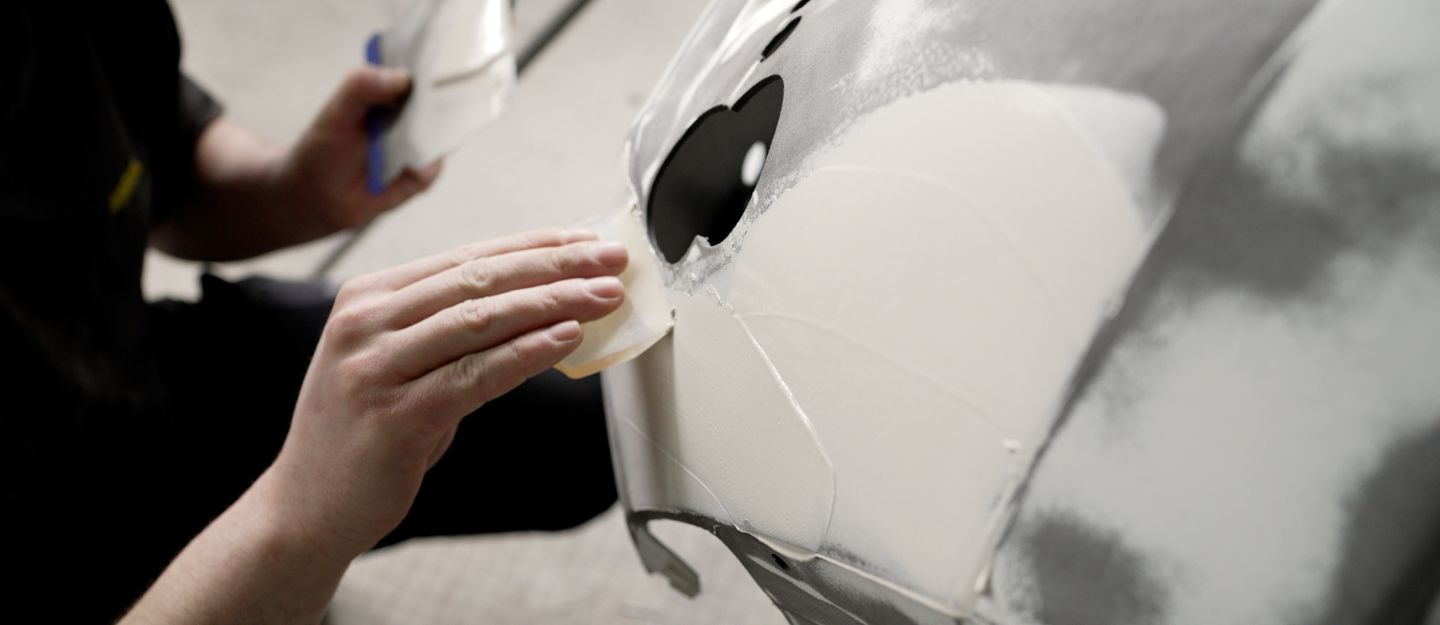
Start sanding with 80-grit sandpaper to knock down the high spots. Use a sanding block for a flat surface or a DA sander for quicker results. Progress to finer grits (180, then 320) to smooth the surface. Feel the area with your hand to check for high or low spots.
6. Inspect and Reapply if Needed
If there are any imperfections, reapply a thin layer of filler or glaze putty, let it cure, and sand again. The goal is a seamless transition between the filler and the original panel.

7. Final Prep
Clean the area with a tack cloth. Now the surface is ready for primer, paint, and clear coat application.

